I did this LR3 before any dash kit was available for it and I had to get the right shape into my custom dash kit or it would just look too flat. The color that I painted the kit after is a great match but because it has a little more metallic in it than the factory color, it shows a little off in pictures due to the flash.
Friday, 26 October 2012
2000 ACURA INTEGRA CUSTOM SURROUND SOUND CENTER CHANNEL ADDITION
Why cant you enjoy movie quality sound in your car??? Actually you can, the cabin area of any vehicle is an awesome space and with the correct placement of speakers it works so well. Here I took out the factory center vents on this Integra to add the Center Channel speaker. Inside the dash i had to block off the venting with an ABS plastic cover and mold in the trim ring for the center channel into the Integras dash. I then texture coated and painted "Trim Black (3M)" to give it that stock appearance.
1992 ACURA INTEGRA CUSTOM TRUNK LAYOUT
In this Integra I must have done about 5 complete systems in over the years that I have know this client. I redid the trunk area to give it a cleaner more modern look. This setup also covers the Air Ride tank and 2 compressors but is easy enough yo service by just removing the center panel. The top of the box is done in fiberglass and the rest was done with trim panels to gold the amps on each side.
2000 AUDI A4 CUSTOM HEAD UNIT INSTALLATION
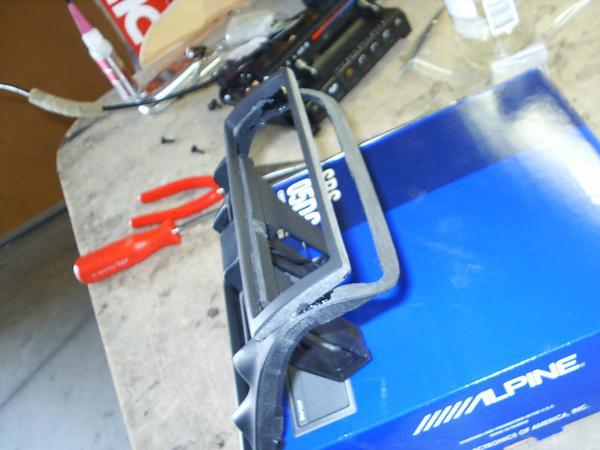
When its time to upgrade your head unit, do you think of how out of place they look sometimes? well by using my techniques the aftermarket could look better than your factory and giving you way more options. This is how i do it, i again use the face of the factory head unit, i then mount and wire the radio into the dash, i place the factory face over the aftermarket radio, i trace out the size of the radio , then cut out the hole, with a couple test fits and some extra trimming so the aftermarket radio is completely visible, you then use some ABS plastic strips to fill in the gaps on top/bottom and both sides. give it a good ruff sanding then fill in the small areas with your filler compound, lightly sand one last time then spray primer, then 3M texture coating then spray with 3M's Trim black paint and tour done, sounds pretty easy :-)
2005 NISSAN TITAN CUSTOM UNDER SEAT FIBERGLASS SUB ENCLOSURE
In the Nissan Titan's you can get the optional sub enclosure under the drivers seat, sure they are "OK" if you only need a small amount of bass. With the technology of making aftermarket subs slimmer and my creative mind its possible to get more "Boom" out of your trucks sound system. Still using the factory head unit with an aftermarket amplifier installed under the passenger side front seat, there is a good amount of room under the drivers seat to strategically build a custom enclosure. Here is my process; This fits so nice and still gives full functionality of the power seat.
Wednesday, 24 October 2012
1955 CHEVROLET BELAIR BASIC HEAD UNIT CUSTOM REAR SPEAKER INSTALLATION
Client wanted the head unit hidden away and was on a budget so I did a nice feature with the rear speakers that makes them look countersunk into the rear panel. The head unit was just mounted in an under dash kit that I installed into the glove box and then trimmed it out inside so it didn't look too bad.
Subscribe to:
Posts (Atom)